
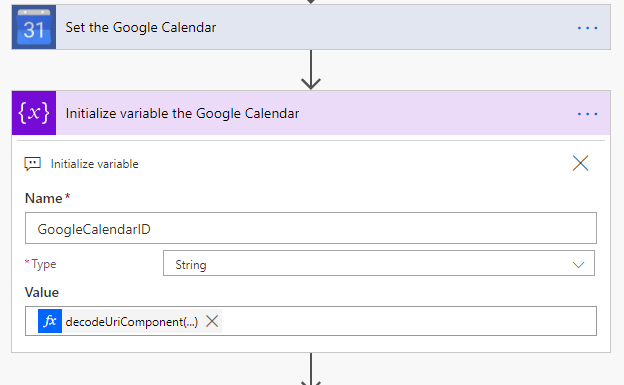
②で設定したGoogleカレンダのIDを取得し、変数に登録します。最終形は次の通りです。
設定方法
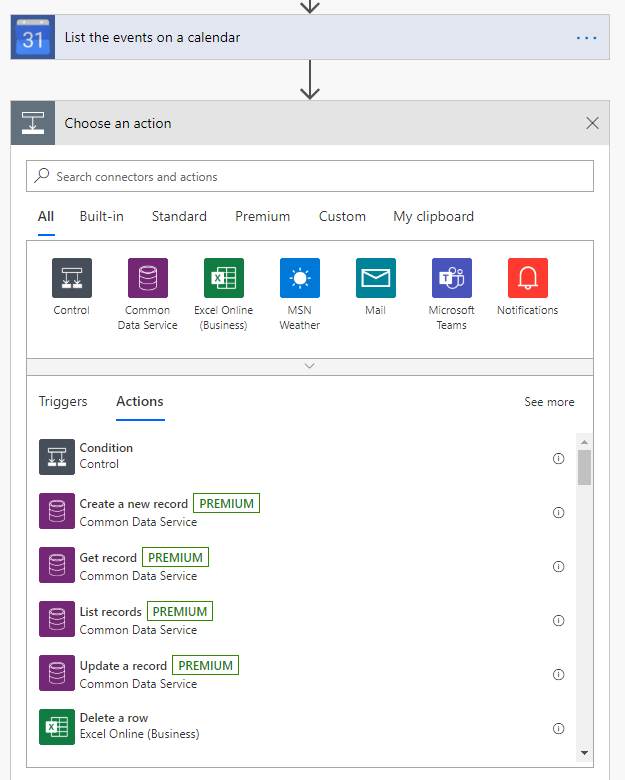
②の最後で、「+New Step」をクリックすると下記の画面になります。
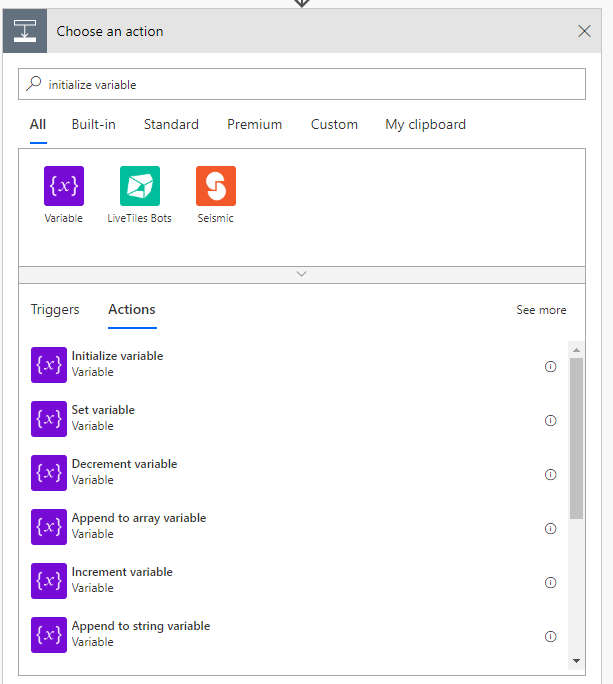
「Search connectors and actions」に「initialize variable」と入力し、 「initialize variable」 をクリックします。
Nameに変数名である、GoogleCalendarID、TypeにStringを選択し、Valueはfxをクリックし、下記のコードを入力します。
decodeUriComponent(split(actions('List_the_events_on_a_calendar')['inputs']['path'],'/')[2])なお、 List_the_events_on_a_calendarは②のアクション名です。

③は以上です。
